Last weekend, my kids were bouncing off the walls with energy, and I needed an outdoor project that would keep them busy (and tire them out!). That’s when I remembered the stack of wooden pallets my neighbor was giving away. What if we could transform them into something special?
Turns out, those humble wooden pallets became the highlight of our spring. Together, we created a magical hideaway that has since hosted tea parties, pirate adventures, and even a few parent-approved sleepovers. The best part? You don’t need to be a DIY expert to make this happen!

What You’ll Need
Before rolling up your sleeves, let’s gather everything you’ll need. Trust me, having everything ready beforehand saves so much frustration (I learned this the hard way!).
Materials:
- 8-10 wooden pallets
- Weather-resistant decking screws (3-inch screws work well)
- 2 waterproof tarpaulins (old camping tarps work brilliantly)
- Sandpaper (to smooth any rough edges)
- Optional: Metal L brackets for extra stability (purchase from any hardware store)
- Optional: Non-toxic outdoor paint or wood stain
- Optional: Solar-powered fairy lights (these have been a HUGE hit with my kids)
Tools:
- Drill with screwdriver bits
- Staple gun
- Handsaw or jigsaw (for any adjustments)
- Safety gloves (those pallet splinters are no joke!)
- Paintbrushes
Finding the Perfect Spot
Location matters more than you might think! After our first attempt got waterlogged in a low spot of the yard, we learned some valuable lessons.
Look for:
- Slightly elevated ground that won’t collect rainwater
- A spot with both sun and shade throughout the day (all-day sun makes it too hot in summer)
- A location where you can see it from your kitchen window (perfect for keeping an eye on play while prepping meals)
- Enough surrounding space for running games
Avoid:
- Areas under trees that drop sap or lots of leaves
- Places too close to your neighbor’s property line
- Spots near plants you don’t want trampled

Let’s Build Your Outdoor Pallet Playhouse!
The base is crucial—it keeps everything dry and stable. When we skimped on this step the first time around, we ended up with a wobbly den that didn’t last through the first thunderstorm.
- Clear the area completely of rocks, sticks, and other debris
- If possible, lay down landscape fabric to prevent weeds from growing up through the floor
- Arrange a tarpaulin across the floor (you can add pillows and rugs later)
- From here, arrange the first layer of pallets around the perimeter to form the desired size of your den.
- Secure them together using 3-inch screws at each corner where pallets meet
- Build upwards from there – going 2 or 3 layers high.
- Ensure each pallet is secured to all the other pallets around it.
- When you are ready for the roof, stretch your tarpaulin across, and staple it firmly all the way around with your staple gun.
- Variation: If you prefer, make your den a complete wooden cube by using pallets for the floor and ceiling as well (you will need to finish the roof with a taurpaulin or roof felting to make it water-proof).
Pro tip: If your ground is uneven, use paving stones under the corners to level things out.

Additional Tips For Your Pallet Den
Feel free to deviate from the instructions, as long as the structure is safe and secure! My kids insisted on “windows” in specific spots, which we accommodated by leaving gaps between some of the pallets.
- Secure each corner with at least two screws, drilling at an angle for stability
- For extra stability, add L-brackets at each corner where walls meet the floor
- Sand down any particularly rough edges or protruding nails
Safety check: Give each wall a gentle push to ensure it’s firmly attached. If there’s any wobble, add more support before continuing.
Weather wisdom: In rainy regions, create a slope on your roof.
Personalizing Your Outdoor Pallet Den
This was honestly the most fun part for our family! Everybody got involved when it came to decorating.
Some ideas that worked for us:
- Non-toxic paint in the kids’ favorite colors (we let each child paint their own wall)
- Old outdoor cushions and blankets (stored inside at night)
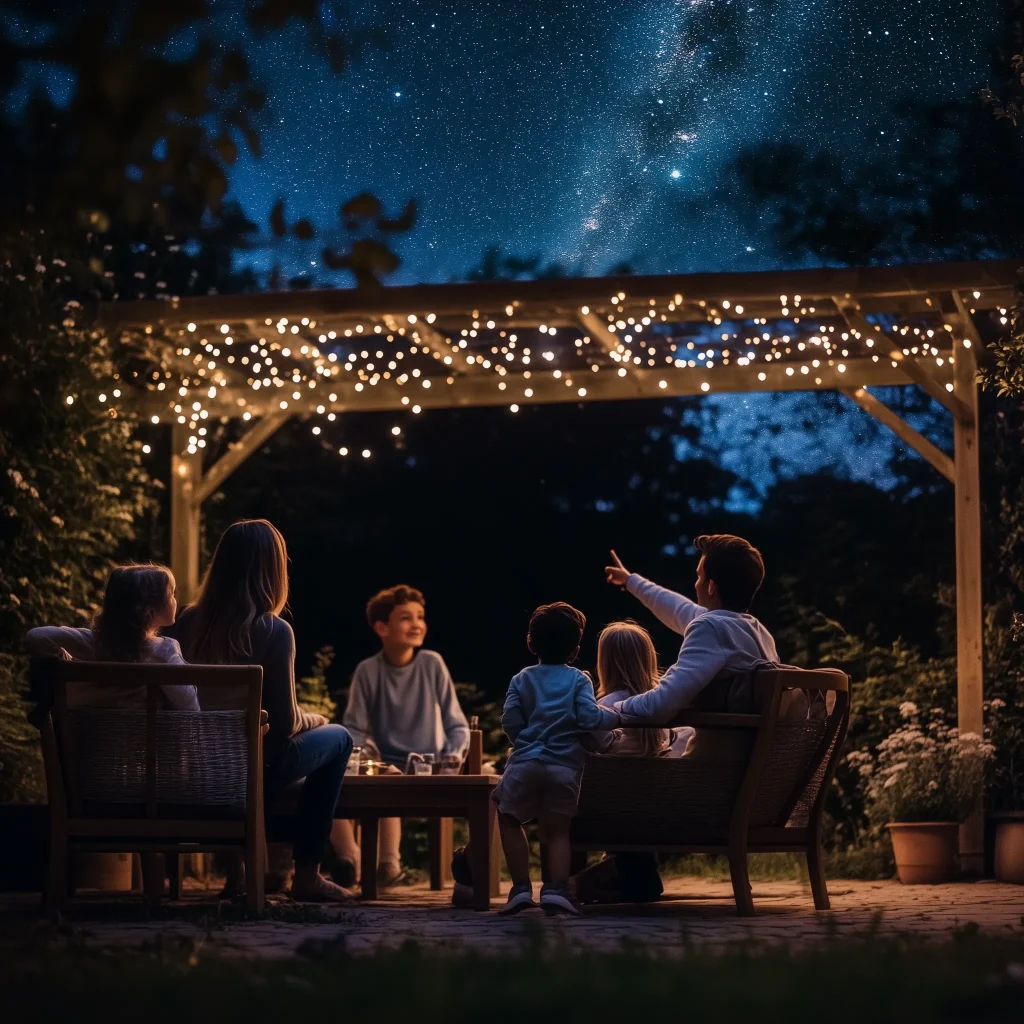
- Solar and battery-powered fairy lights strung across the ceiling
- A small chalkboard mounted on one wall
- Weather-resistant or washable bunting flags around the entrance
- A “secret password” sign by the door
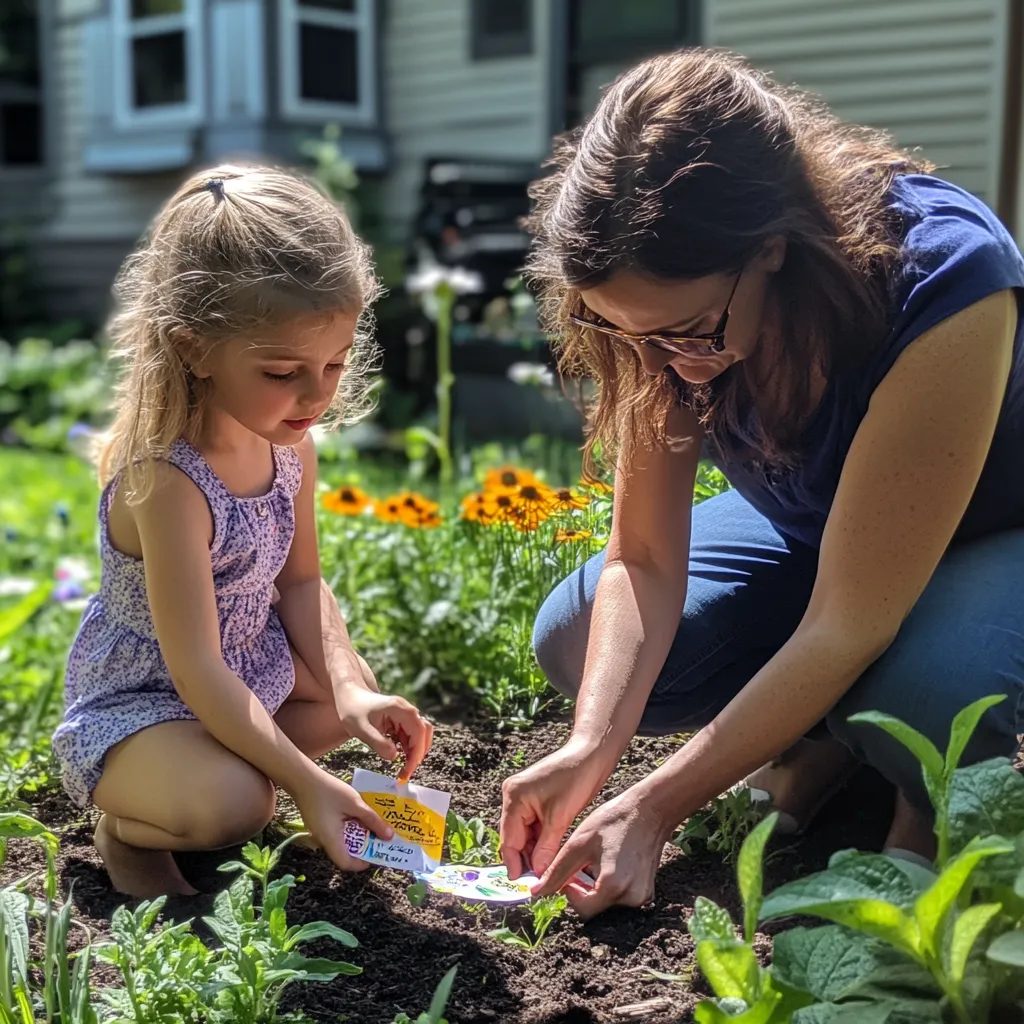
- Plant fast-growing climbers like morning glories near the walls for a living touch

Maintaining Your Magical Space
A little maintenance goes a long way in extending the life of your pallet den:
- Check and tighten screws monthly
- Inspect the roof after stormy weather
- Refresh the wood with non-toxic sealant once a year
- Remove fallen leaves and debris regularly
The Unexpected Benefits
What started as a weekend project to keep my kids busy has turned into so much more. I’ve noticed they spend less time on screens and more time outside. Their friends come over more often, and I’ve overheard the most creative stories and games coming from that simple wooden structure.
Even better? The pride on their faces when they tell visitors, “We built this ourselves!” Those moments alone were worth every splinter and sore muscle from the building process.
Safety note: Always supervise younger children during play. Ensure your structure is stable and check regularly for loose nails, screws or splintering wood.
Steph Simmons is a passionate outdoor mom and founder of Wild Bloom Families. When she’s not writing about outdoor family adventures, you’ll find her camping with her kids, crafting with natural materials, or advocating for more wild spaces in her community.