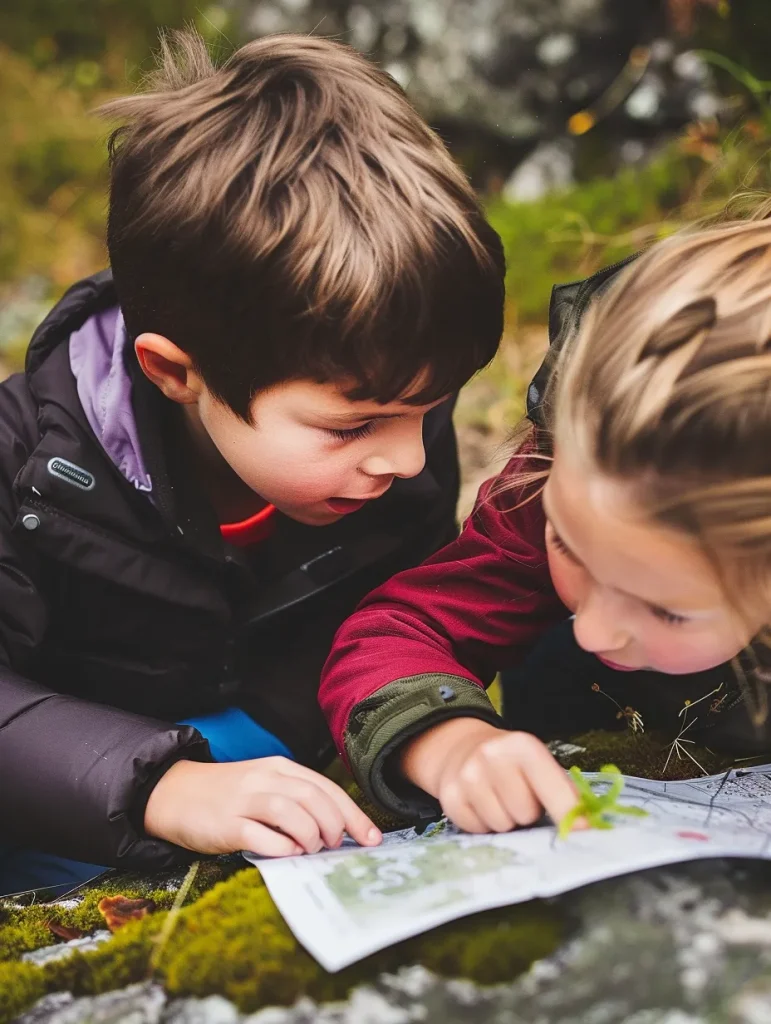
I love finding simple ways to get my kids excited about the outdoors and caring for the environment.
One surprisingly enjoyable activity we tried was making a rain gauge! A rain gauge is a nifty little tool that measures how much it rains.
Creating a rain gauge with your kids is not only fun but also a great educational activity. It helps them learn about weather patterns and gets them involved in observing and recording rainfall.
Plus, it’s super easy to make with things you probably already have at home. Let’s dive in and make a rain gauge together!

Materials Needed For Your Rain Gauge
Before we dive into making our rain gauge, let’s gather everything we need. Don’t worry, these items are simple and likely already in your home:
- Clear plastic bottle: Any size will work, but a 2-liter bottle is ideal.
- Ruler: To measure and mark the gauge.
- Permanent marker: For marking measurements on the bottle.
- Scissors: To cut the bottle.
- Small stones or pebbles: To stabilize the gauge.
- Water: To create a base measurement.
- Tape (optional): To secure the top of the bottle back on.
Once you have these materials, we’re ready to get started on our rain gauge adventure!
This project is perfect for kids of all ages and is a great way to spend some quality time outdoors.
Let’s move on to the fun part—building the rain gauge and collecting that rain!
DIY Rain Gauge: Step-by-Step Instructions
Now that we have all our materials ready, let’s start building our rain gauge.
Follow these simple steps, and you’ll have your very own rain gauge in no time!
1. Preparing the Bottle
- Step 1: Take your clear plastic bottle and cut the top off. Make the cut where the bottle is at its widest.
- Step 2: Keep the top part of the bottle; we’ll use it later. This will help collect the rain more effectively.

2. Marking the Measurements on Your Rain Gauge
- Step 1: Use the ruler to measure and mark increments on the bottle with the permanent marker. Start from the bottom and mark every centimeter (or half-inch) up to the top.
- Step 2: Number each mark so it’s easy to read the amount of rainfall. This step is great for helping kids practice their measuring skills!
3. Setting Up the Rain Gauge
- Step 1: Place a few large stones around the outside of the bottle’s base, and a few pebbles inside the bottle. This will help keep it stable and prevent it from tipping over.
- Step 2: Add water to the bottom of the bottle until it just covers the base. This will serve as your zero mark, so any rain collected will be measured from this point.
4. Placing the Rain Gauge
- Step 1: Find an open area in your yard or garden to place the rain gauge. Make sure it’s away from trees, buildings, or anything that might block the rain.
- Step 2: If it’s windy, you can use tape to secure the top of the bottle back on (upside down like a funnel) to help collect rain more effectively and keep debris out.

5. Recording Rainfall
- Step 1: After it rains, check the water level in the bottle and see how much rain was collected by the rain gauge.
- Step 2: Get your kids involved by asking them to read the measurements and write them down. Use a simple chart to record the date and the amount of rainfall. This not only makes them feel involved but also helps improve their math skills.
- Step 3: Have your child decorate a notebook to be their official rain journal. They can add stickers, drawings, or photos to personalize it. Encourage your child to write down the date, amount of rainfall, and any observations about the weather that day. They can also draw pictures of the clouds or describe how the rain sounded.
- Step 4: Discuss the results and compare them over time. This can be a fun ongoing project, turning your kids into little meteorologists!
With these steps, your kids will have a blast making and using their own rain gauge.
It’s a wonderful way to teach them about weather and science while spending time outdoors together.
Stephanie Simmons is an Anglo-American mum of two who is passionate about all things outdoors. She loves camping, outdoor crafting, and all outdoor activities.
Steph believes in getting the kids outdoors no matter the weather!
She created Wild Bloom Families to share her passion for the outdoors with other families.
Getting in nature can transform your physical health, mental health and happiness!