As a mom who loves camping with my kids, I’ve found that a DIY adventure kit can make all the difference to their camping experience. They add a secret sauce!
Easy to put together, these kits turn a regular trip into an exciting journey, sparking curiosity and keeping little ones engaged.
In this guide, I’ll share how you can easily create a fun and personalized camping adventure kit for your child. Let’s make your next camping trip unforgettable together!

Why Make a DIY Camping Adventure Kit?
Creating a DIY camping adventure kit is a wonderful way to enhance your child’s interactive outdoor experience when they’re camping.
The kits encourage kids to explore, learn, and enjoy nature.
By including a mix of practical items and fun extras, you can make camping more exciting and educational.
Plus, putting the kit together can be a fun bonding activity that builds anticipation for your trip.
DIY Camping Adventure Kit Ideas
Here are a few examples of camping adventure kits you could make:
- Explorer Kit: Includes a compass, binoculars, a map, and a magnifying glass to help kids discover and learn about their surroundings.
- Nature Detective Kit: Contains a bug viewer, a small notebook and pencils for sketching, a guidebook on local wildlife, and a magnifying glass.
- Stargazer Kit: Features a star map, a flashlight or headlamp, and a blanket for stargazing, plus a notebook to record observations.
- Survival Kit: Includes a whistle, a small first aid kit, a multi-tool (child-safe), and a water bottle, teaching kids basic outdoor survival skills.
Each kit can be tailored to your child’s interests, making the camping experience even more special.

Essential Items for the Adventure Kit
Putting together a DIY camping adventure kit is easy and fun.
Here are the must-have items to include in your kit, with additional items to customize based on the type of adventure your child is most excited about:
- Compass: Helps kids learn basic navigation skills.
- Whistle: A safety item that’s easy for kids to use.
- Map: A simple, easy-to-read map of your camping area.
- Binoculars: Perfect for bird watching and spotting distant landmarks.
- Flashlight or Headlamp: Essential for nighttime adventures and reading in the tent.
- Notebook and Pencils: For drawing, journaling, and keeping track of discoveries.
- Small First Aid Kit: A basic kit with band-aids, antiseptic wipes, and other essentials.
- Snacks and Water Bottle: Keep them energized and hydrated throughout the day.
- Magnifying Glass: Great for examining bugs, plants, and rocks up close.
- Guidebook: A field guide for local flora and fauna can be educational and fun.
- Star Map: Ideal for nighttime stargazing and learning about constellations.
- Bandana: A versatile item that can be used as a headband, napkin, or emergency bandage.
- Walkie-Talkies: Adds a fun element of communication and safety during exploration.
- Themed Stickers or Decals: Personalize the kit and make it uniquely theirs.
What you choose to include will depend on the type of kit you are making.
For example, an Explorer Kit might focus more on navigation tools and field guides, while a Stargazer Kit would emphasize items like a star map and flashlight.
Tailoring the kit to your child’s interests makes the camping experience even more engaging and enjoyable.
Choosing the Right Container
Selecting a suitable container for the adventure kit is key. Here are a few options:
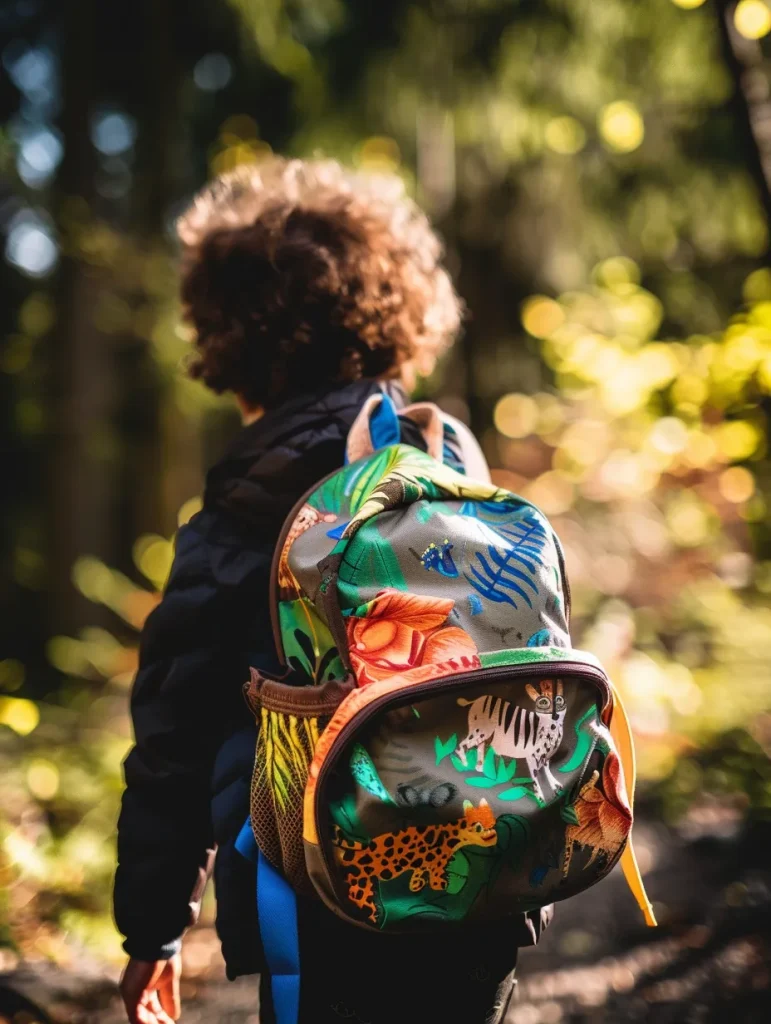
- Backpack: A small, child-sized backpack is ideal for holding all the kit items. It’s easy to carry and has multiple compartments for organization.
- Tote Bag: A sturdy tote bag can be a great option for older kids. It’s easy to pack and access.
- Drawstring Bag: Lightweight and simple, a drawstring bag is perfect for shorter trips or day adventures.
- Plastic Bin: For a more structured option, a small plastic bin with a lid can keep everything neatly organized and protected from the elements.
Personalizing the container itself can also add to the excitement. Let your child choose the container and help them decorate it with their favorite colors and stickers. This makes the kit truly theirs and increases their enthusiasm for using it.

Fun Personal Touches
Adding personal touches to your child’s camping adventure kit makes it even more special. Here are some ideas to customize the kit and make it uniquely theirs:
- Custom Name Tags: Create or purchase name tags to attach to their backpack or items in the kit. This helps keep track of their belongings and gives them a sense of ownership.
- Stickers and Decals: Let your child decorate the container of their kit with stickers or decals of their favorite characters, animals, or outdoor themes. This simple addition can make their gear feel more personal and fun.
- Personalized Adventure Journal: Customize a small notebook or journal included in the kit where they can draw or write about their experiences, or even press flowers and leaves. This will become a cherished keepsake of their adventures.
- Colorful Carabiners: Use bright, colorful carabiners to attach adventure kit items to the outside of their backpack.
Assembling the Camping Adventure Kit
Putting together your child’s camping adventure kit is a fun and straightforward process. Here are the steps to create a kit that’s both practical and exciting:
- Choose the Container:
- Select a container that suits your child’s needs and preferences, such as a small backpack, tote bag, drawstring bag, or plastic bin.
- Make sure it’s durable and easy for your child to carry or manage.
- Gather the Essentials:
- Lay out all the essential items you want to include: compass, whistle, map, binoculars, flashlight or headlamp, notebook and pencils, small first aid kit, snacks, and water bottle.
- Add any additional items based on the type of kit (e.g., magnifying glass for a Nature Detective Kit, star map for a Stargazer Kit).
- Personalize the Items:
- Attach custom name tags to the items.
- Let your child decorate their notebook, water bottle, and the container with stickers and decals.
- Add themed bandanas or hats to the kit for a fun touch.
- Organize the Kit:
- Place larger items like the binoculars and flashlight at the bottom of the container.
- Use smaller pockets or pouches within the container for items like the compass, whistle, and first aid kit.
- Attach carabiners to the outside of the container to hold additional items like water bottles or flashlights.
- Add the Personal Touches:
- Include the personalized adventure journal in an easily accessible spot.
- Pack any additional fun items like colorful carabiners, themed bandanas, or small toys.
- Review and Finalize:
- Go through the kit with your child, explaining the use of each item.
- Make sure everything is packed securely and comfortably for your child to carry.
Assembling the kit together not only makes it more special but also builds excitement for the upcoming adventure.
This hands-on activity helps your child feel involved and ready for the fun ahead.
DIY Camping Adventure Kits for Kids: Final Words From Me
Creating a DIY camping adventure kit for your child is such a fun and rewarding project. I remember the first time I put together a kit for my eldest.
Seeing the excitement on her face as she explored each item was priceless. It turned her camping trip into a series of mini-adventures.
Now it’s your turn.
Happy camping!
Stephanie Simmons is an Anglo-American mum of two who is passionate about all things outdoors. She loves camping, outdoor crafting, and all outdoor activities.
Steph believes in getting the kids outdoors no matter the weather!
She created Wild Bloom Families to share her passion for the outdoors with other families.
Getting in nature can transform your physical health, mental health and happiness!